
3 Lessons learned from Hanging Crown Moulding
If you are coming here today hoping for a big reveal, I have good news and bad news. The bad news is that it has been postponed a week. The good news is that it will be that much better this way. A huge thanks to Stephanie from Casa Watkins Living for hosting this fun event…even while battling the flu! That’s some serious commitment and we appreciate it.

Note: Thanks to Metrie Moulding for sponsoring the product in this post.
One of the MAJOR design elements of this space was definitely the application of crown and panel moulding. I learned in my Fall 2019 One Room Challenge living room that even simple panel moulding on white walls adds so much visual interest.
Don’t believe me? Check it out for yourself!
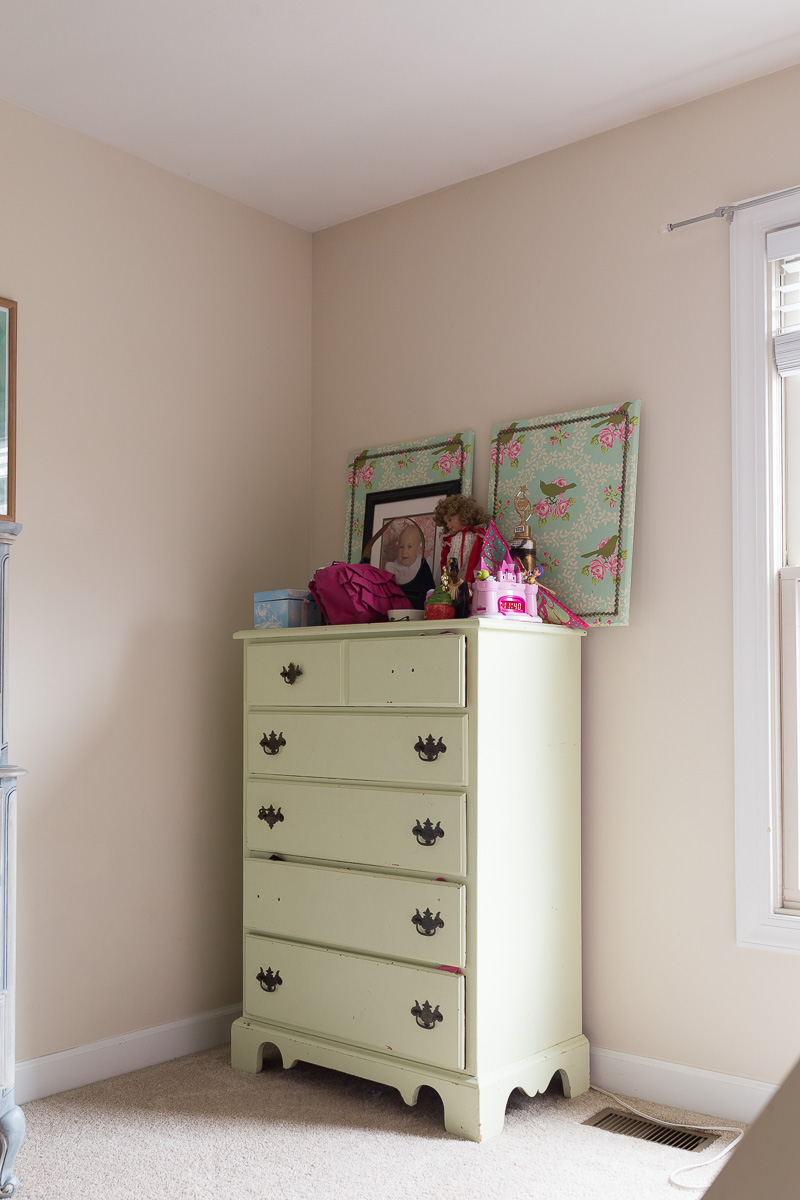
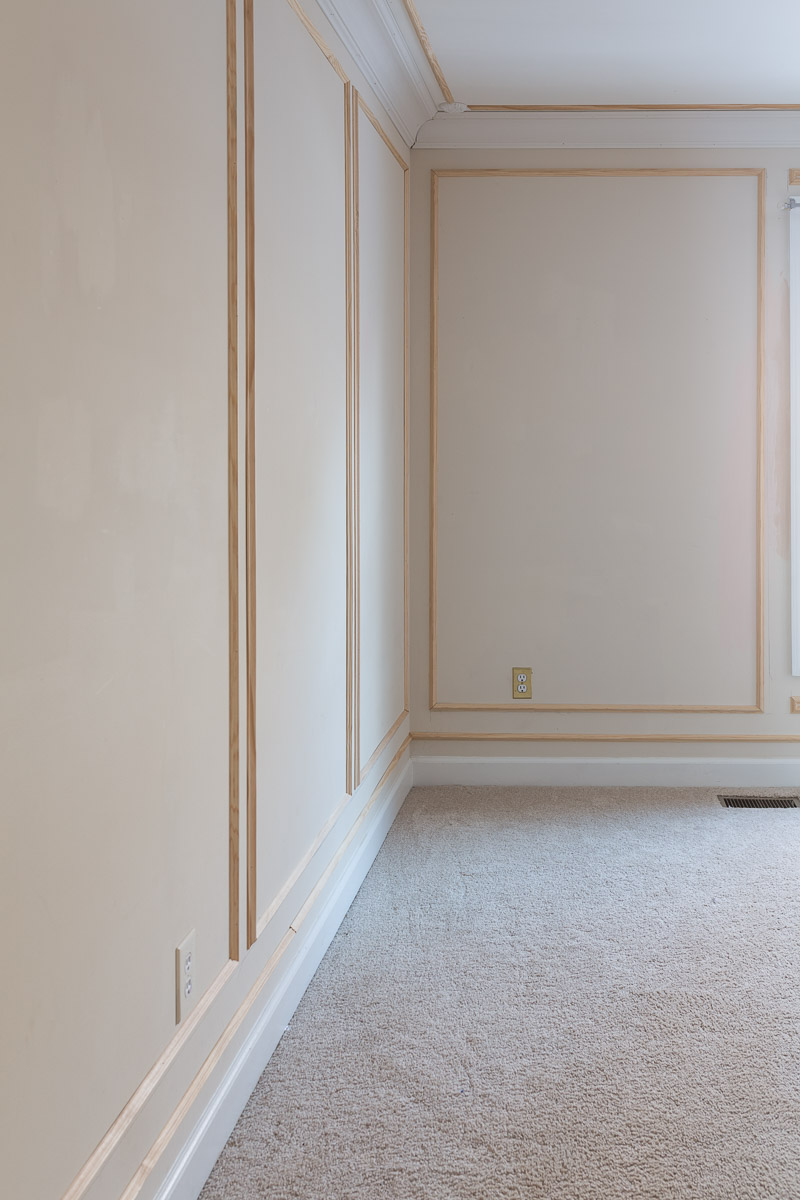
Before
What a sad little corner…just calling out for some moulding…”Metrie…Please, someone install some Metrie”.
Now, we’ve hung picture moulding and the ceiling treatment before in our living and dining space on the main level. On the top level, however, there wasn’t a lick of crown, so that was also on our to do list this time.
During
Here’s a progress shot showing you the design I’d dreamed up. You can see how we cut the pieces and attached them with our nail gun. BTW- We’ve tried this project on a small scale without a nail gun…trust me friends…just buy the stinik’ air compressor and gun. It’s so worth it!
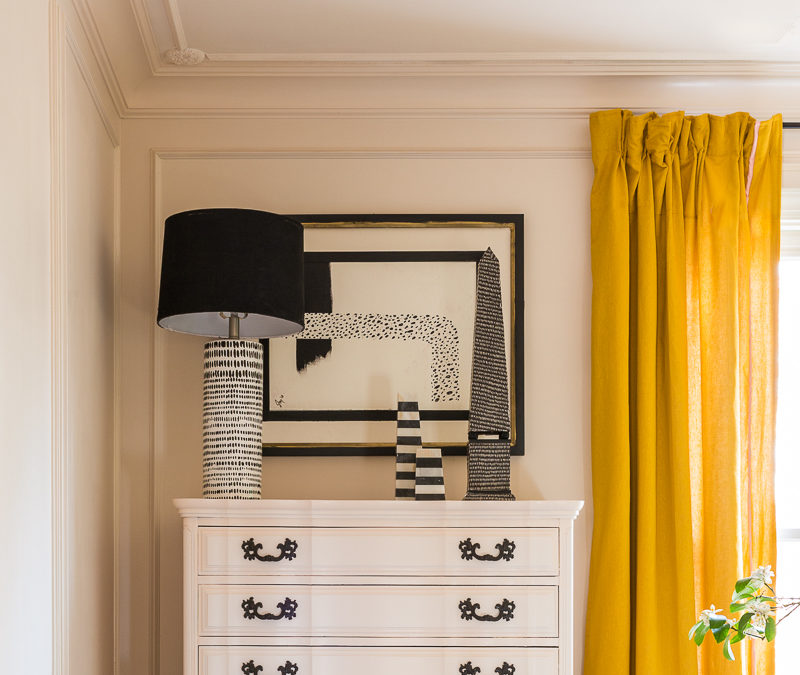
After
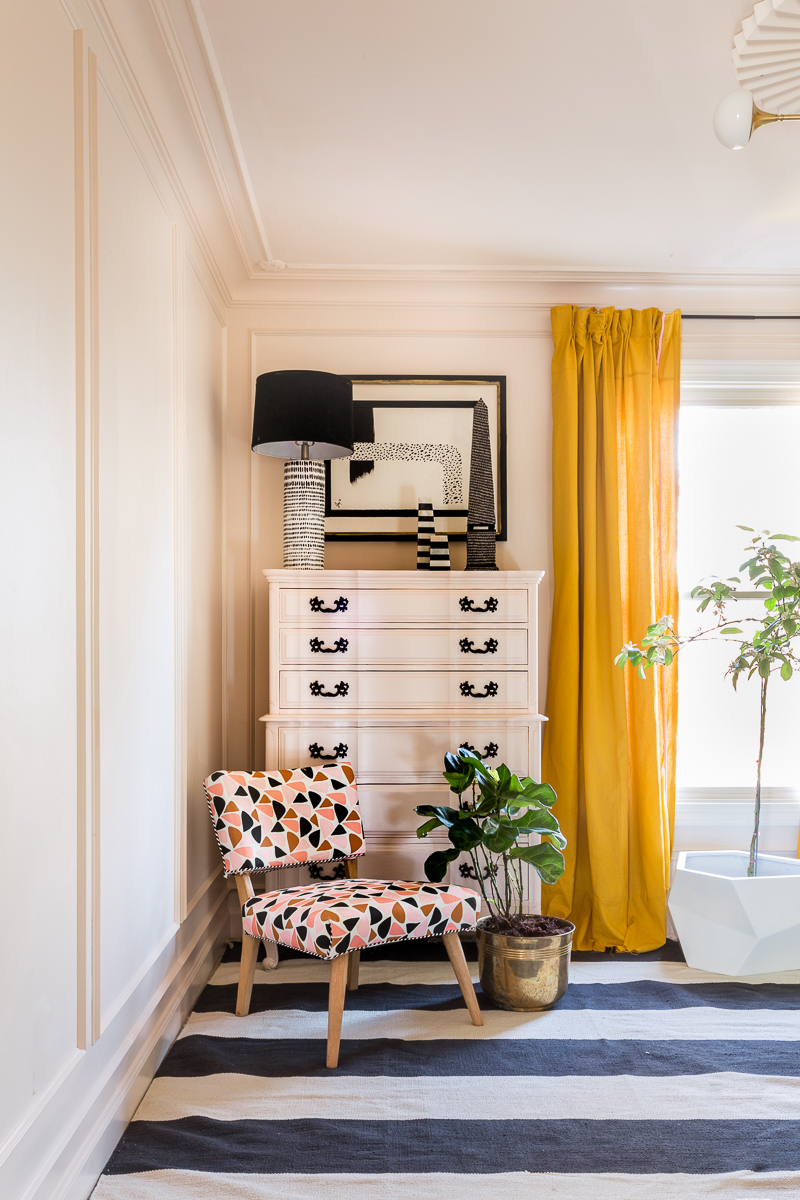
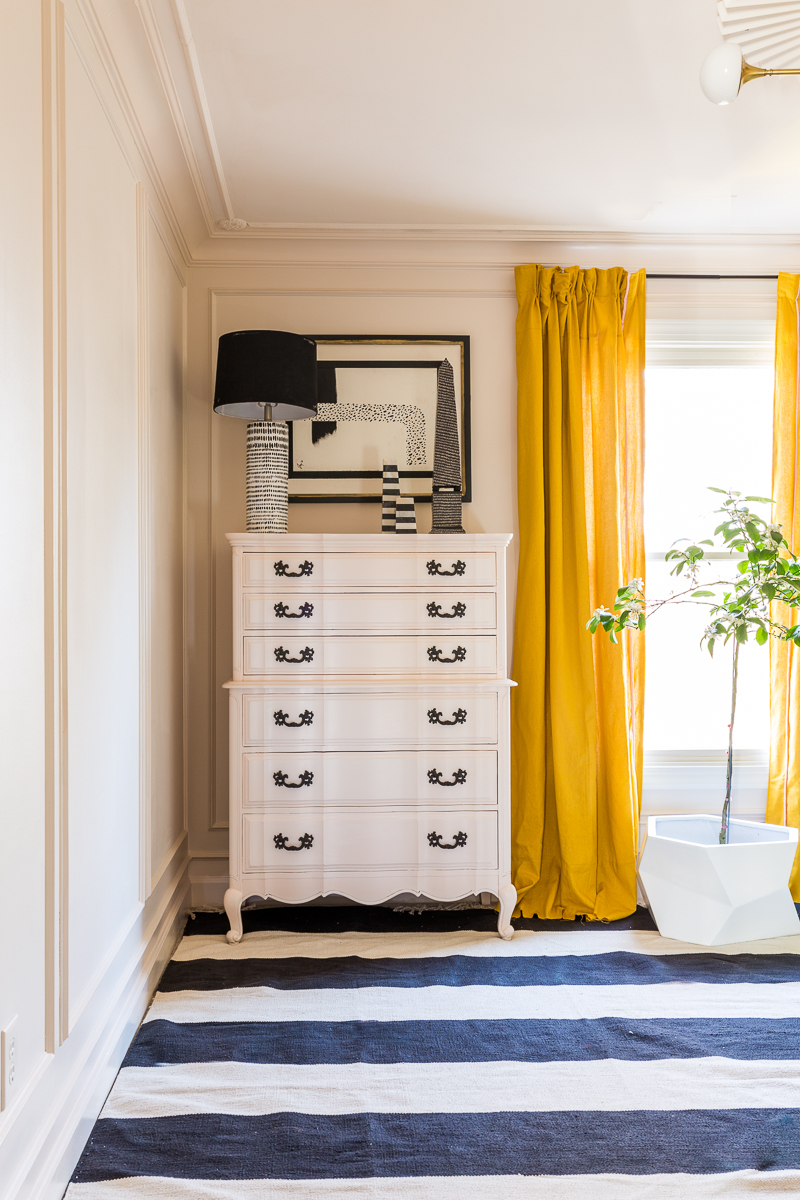
What do you think? Moulding with some fresh paint works wonders, doesn’t it?
Now, don’t let the pretty colors and fun design fool you. We made some MISTAKES on this project and want to be sure to point them out to you so that you can learn from them.
Lesson 1: Think Scale
Now, I don’t want to say that I “messed up” on the scale. I think “took a risk” is a better way to put it.
You see, Metrie Moulding has this fabulous line of products called Option {M}. What’s so wonderful about this selection is that this line is designed for people who feel intimidated by the process of picking out millwork for their homes (ummm….that’s most everyone, right?). Not only does Metrie break the moulding down into user friendly design collections (complete with a style quiz), it also tells you which trims to purchase, based on your ceiling height. Scale is so very important when it comes to moulding because it helps the room feel well-proportioned.
Now…I knew that I had 8 ft ceilings. Oh, and I knew that the already existing floor boards are scaled for an 8 ft room. It’s just that I got a little a little carrrrried awayyyyy. Why have small moulding, when you can go big??? Big is always better, right? Well, technically no. But I had a plan… Oh I had a plan. I’ll let you decide if my risk is beautiful or design disaster.
The Risky Plan: Part 1- Crown Moulding
For the crown moulding I opted for the 6 5/16 inch vs the 5 inch scale. I love the shape of the New Traditional line, and I hoped my two tricks would help balance the oversized proportions of this selection.
The Risky Plan: Part 2- The Baseboards
We had a little extra panel moulding and we hung it horizontally above the existing base boards. After I took this picture (above) I painted a high gloss paint on all of the trim and from the aforementioned horizontal moulding downwards. This gave the illusion of the floorboards being super tall and in proportion to the oversized crown moulding.
The Risky Plan: Part 3- The Ceiling treatment
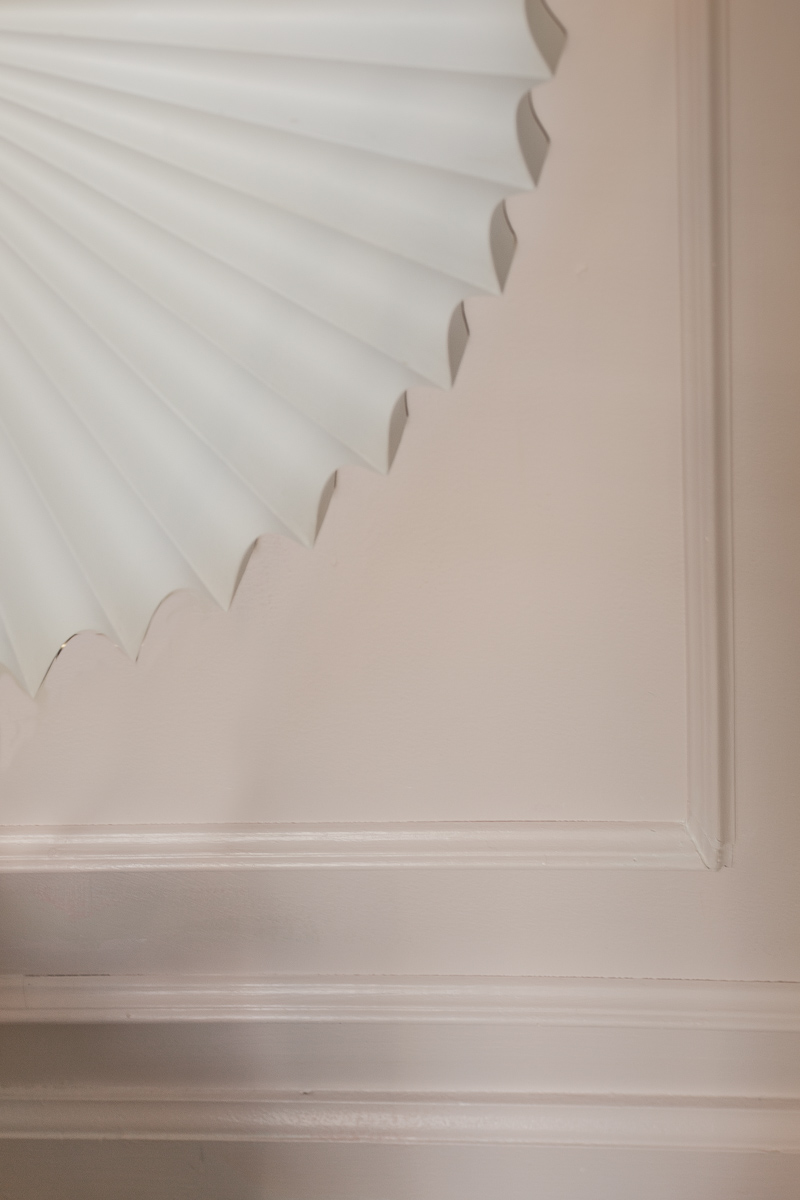
Now that the top and the bottom felt balanced, I wanted to address the issue of the walls feeling too short for the scale of the hefty millwork. My solution? I added panel moulding and ceiling treatment to give the illusion of taller walls. BAM!
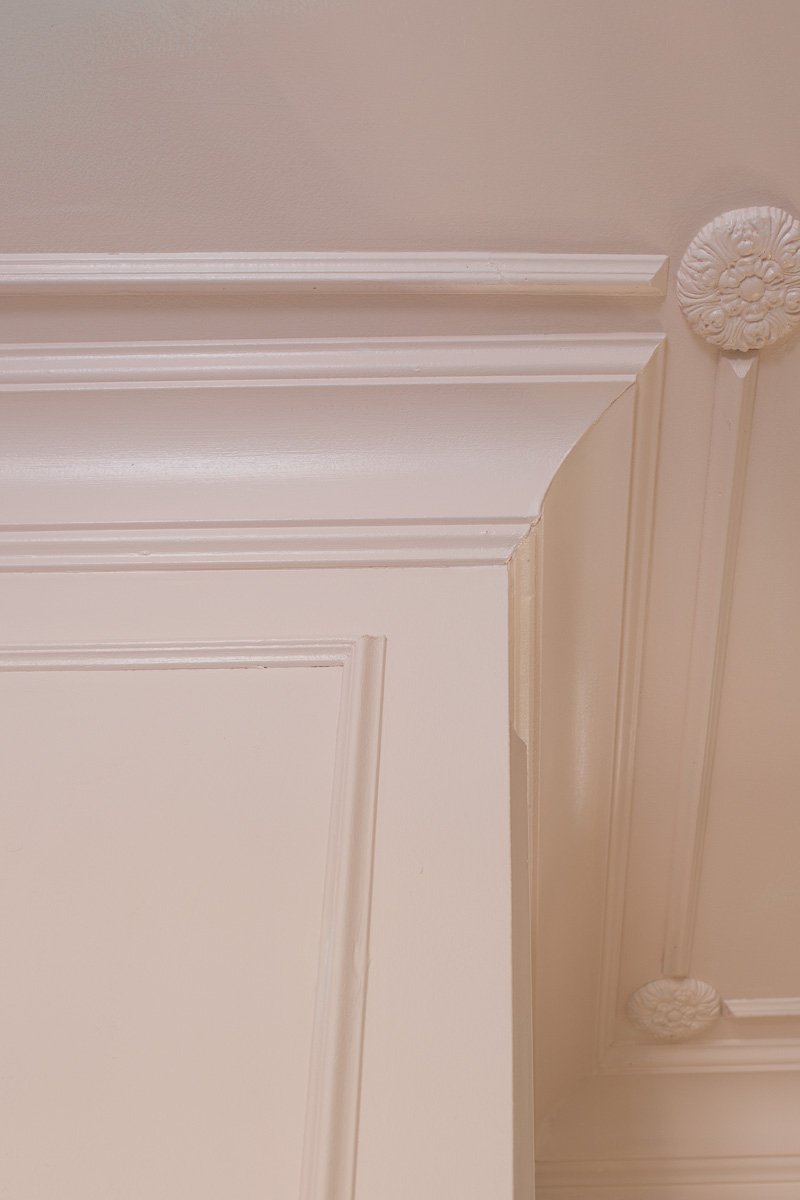
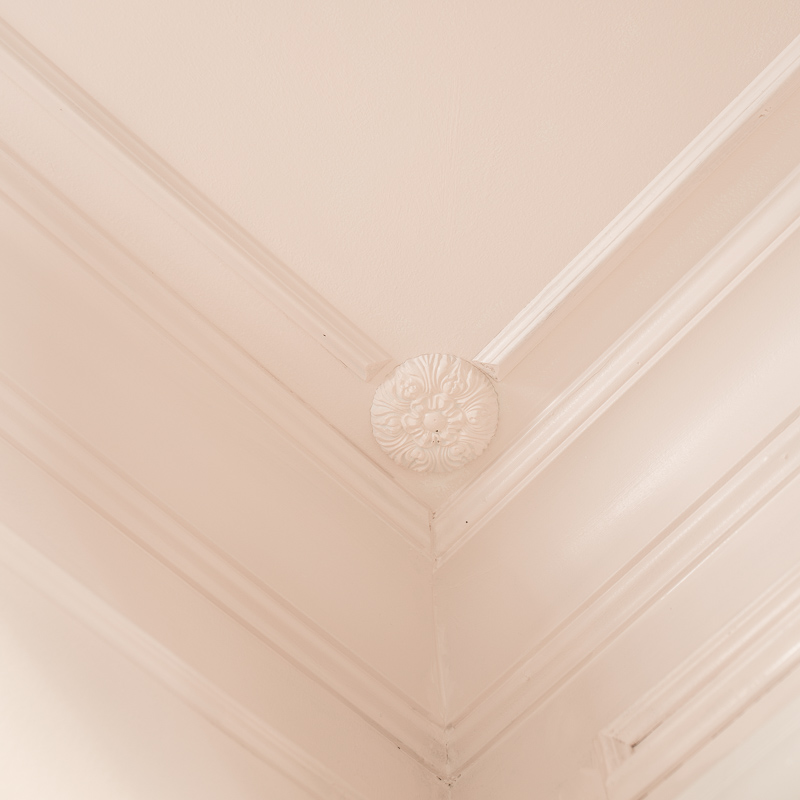
I got the rosettes from my go to ceiling medallion/rosette source, Architectural Depot (sponsored). Their selection is incredible.
Was this decision making process as easy and techincally correct as installing an Option {M} crown moulding designed for 8 foot ceilings? No, but I’m still happy with the outcome and wouldn’t have done anything differently given the chance.
Lesson 2: The Right Tools
Even the most challenging job can be easy if we have the right tool. Conversely, a relatively simple job, like cutting crown moulding, can be frustrating with the wrong tool. We jumped into this project thinking that our miter saw would be sufficient to cut the 6 5/16 inch moulding. Man, were we wrong! Our 10 inch Hitachi compound miter saw wasn’t big enough to tackle the extra tall moulding, simply because of the angles. Now, it would get through the first 5 inches, but left a portion to be finished off with a hand saw. Also, we were missing a part or two (lost in one of our many moves) that would have helped to keep the angles straighter.

The result? Several semi ok cuts and a couple that are just a bit embarrassing. To give you an idea, here is one of our better corners ?.
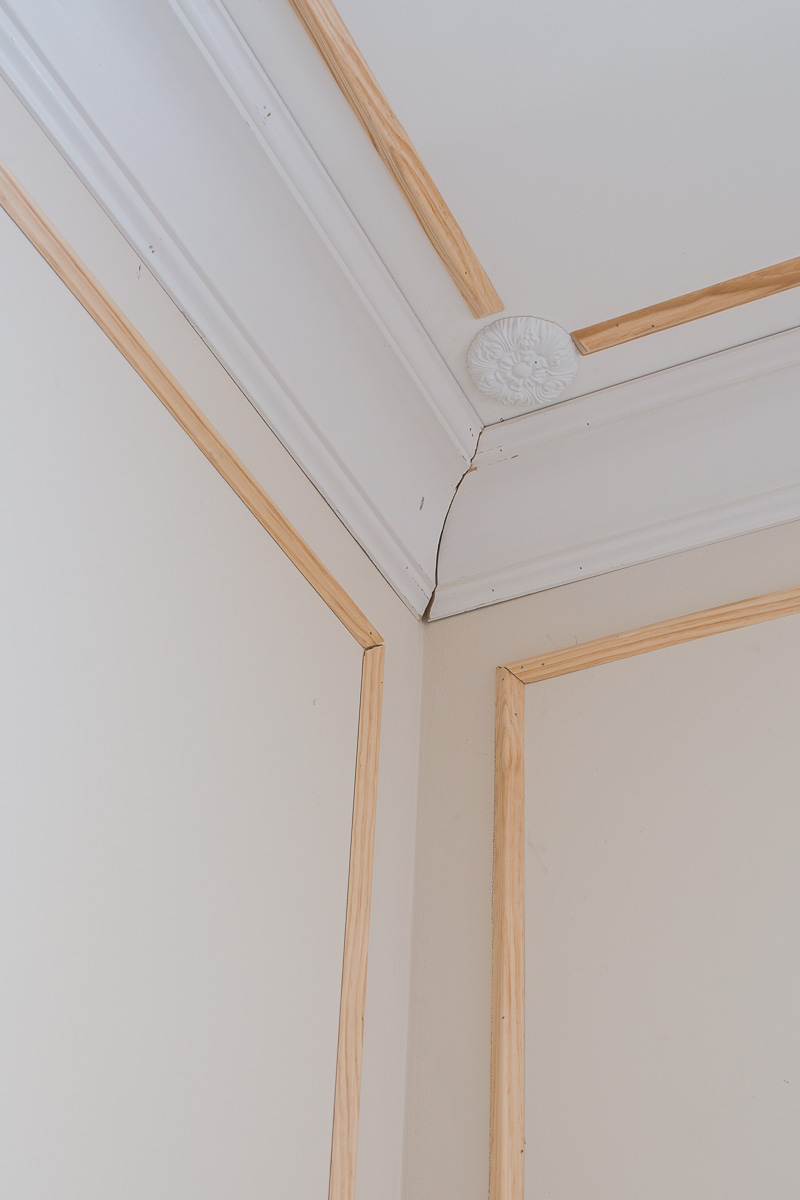
Next time we will either borrow, rent, or buy a saw with a bigger blade.
Also, next time I would consider purchasing a crown moulding cutting jig like this one I found on Amazon. We watched a couple of youtube video, and this looks like a winner . It would have helped eliminate the guess work and ensured our corners were a little tighter.
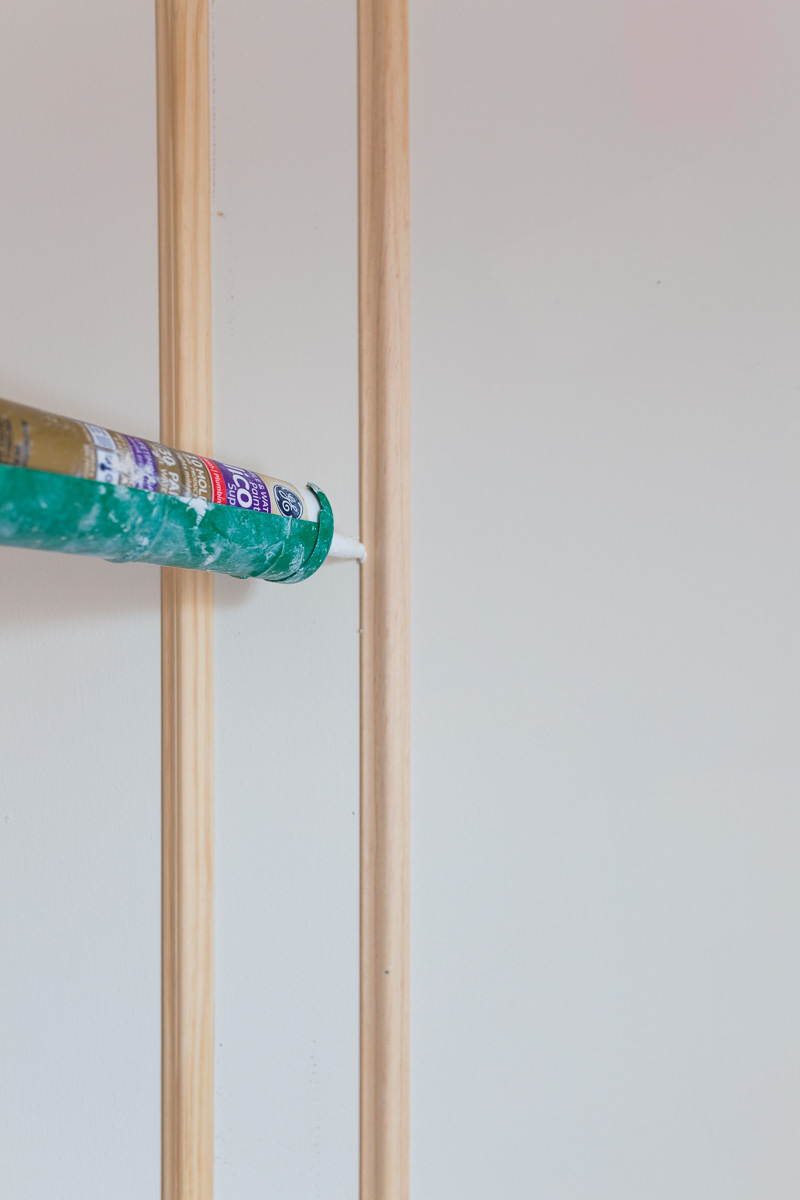
Lesson 3: Fake It
We found ourselves quoting the old adage, “A little putty and a little paint make a carpenter what he ain’t”.
There is definatley some truth to that my friends. We have found that putty, calk, and sandpaper can be instrumental in hiding a multitude of moulding moulding “sins”.
I’m so glad that we cut our teeth on crown moulding in a small bedroom for our children. This year we plan to hang crown moulding in our living room/kitchen area, small bathroom, and master bedroom. All three of these areas are more visible, by me at least. I’m optimistic that next time we will learn from our mistakes and up our moulding game. The good news is that even an amateur attempt can still elevate the style in a space and make it feel oh so much better!
OK….now come back NEXT WEEK for the BIG REVEAL. Until then, make sure to check out our official sponsors. Now go see the progress everyone made by the other talented bloggers in the New Year New Room Challenge!


It looks amazing Jewel! This gives me hope for my 8ft ceilings.
Oh my goodness Jewel its amazing! Love the new moulding. It totally makes this room. Can’t wait to see it all together next week.
Great job!
I really like the thin trim piece used with the medallion (s). Nice touch!
Thanks so much Mona!